If you’re wondering how to install a marine GPS system, you’ve come to the right place!
Installing a GPS system on your boat is essential for navigation, safety, and maximizing your time on the water.
In this comprehensive guide, we’ll take you through the steps to ensure a successful installation.
What is a Marine GPS System?
Before we dive into the installation process, it’s crucial to understand what a marine GPS system is.
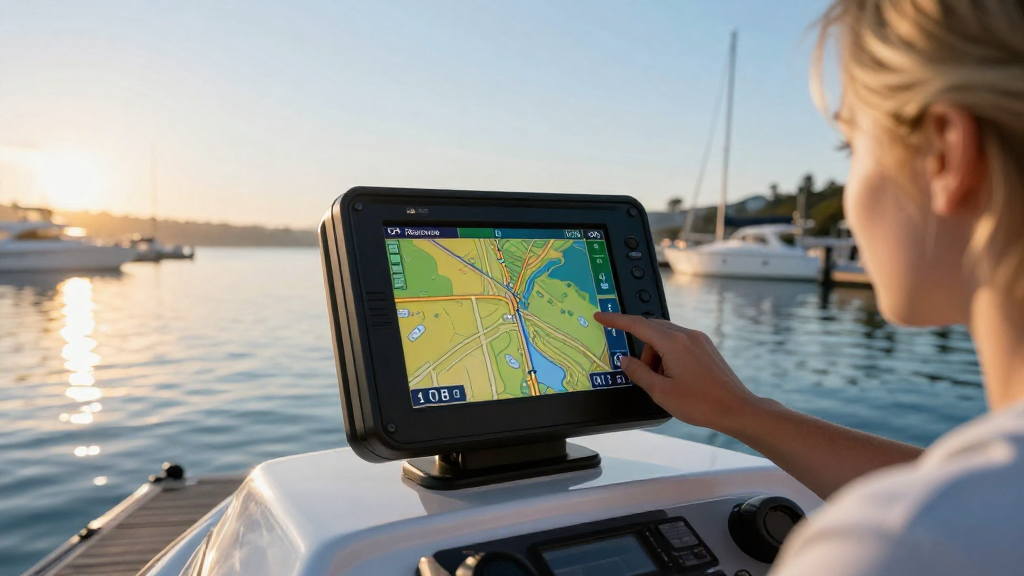
Marine GPS systems are specialized devices designed for navigation on water.
They provide real-time location data, speed, and direction, helping mariners safely maneuver through waterways.
Additionally, many modern marine GPS systems come equipped with features such as:
- Chart plotting: Displaying navigational charts for easier route planning.
- Waypoint management: Saving specific locations for future reference.
- Fish finding: Locating underwater terrain and fish.
- Weather updates: Providing real-time weather information for safer journeys.
Understanding these features will help you choose the right system for your needs.
How to Choose the Right Marine GPS System?
Before you tackle the installation, you’ll need to pick a marine GPS that meets your requirements.
Here are some factors to consider:
-
Screen Size:
– A larger display is easier to read, especially in bright sunlight. -
Type of Mounting:
– Decide between a fixed-mount GPS or a portable unit. -
Chart Coverage:
– Ensure the GPS includes charts for the areas where you’ll be navigating. -
Additional Features:
– Consider extras like AIS (Automatic Identification System), sonar capabilities, or Wi-Fi connectivity. -
Budget:
– Prices can vary; determine what features you need versus what you can afford.
How to Install a Marine GPS System: Step-by-Step Instructions
Now that you’ve chosen the right GPS system, let’s get into how to install a marine GPS system correctly.
What Tools Will I Need?
Before starting, gather the necessary tools to simplify the installation process:
- Screwdrivers: Flat-head and Phillips for mounting.
- Drill: For machining holes if required.
- Cable ties: For organizing wires.
- Wire strippers: To prepare wiring.
- Volt meter: To check electrical connections.
- Marine-grade adhesive: For securing mounts.
- Cabinets/wire connectors: To make connections secure.
Where Should I Install the GPS Unit?
Choosing the right location on your boat is crucial for both functionality and comfort.
-
Visibility:
– Install the unit where you can easily see the screen while at the helm. -
Accessibility:
– Ensure it can be reached without hindrance, so you can adjust settings during navigation. -
Protection from Elements:
– The unit should be shielded from water and direct sunlight. -
Mounting Surface:
– Make sure the surface is stable and strong enough to hold the weight of the GPS.
How to Mount the GPS Unit?
Now for the installation!
-
Mark the Drilling Points:
– Hold the GPS in the desired location and mark the mounting holes. -
Drill Holes:
– Use your drill with appropriate bits to create holes for the screws. -
Apply Marine Adhesive:
– For fixed mount units, apply marine-grade adhesive to the mount. -
Attach the Unit:
– Screw the GPS unit firmly into place.
How to Connect the Power Supply?
One of the critical steps in how to install a marine GPS system is ensuring it receives adequate power.
-
Locate the Boat’s Power Source:
– Identify the 12V power source you’ll connect to, usually near the helm. -
Prepare the Wires:
– Strip the ends of both the power cable from the GPS and the boat’s power cables. -
Connect the Wires:
– Connect the red wire from the GPS (power) to the positive terminal.
– Connect the black wire from the GPS (ground) to the negative terminal. -
Secure Connections:
– Use wire connectors to secure the connections, and cover them with electrical tape for safety. -
Test the Power Supply:
– Use the voltmeter to check if the GPS unit is receiving power.
How to Mount the Antenna?
The antenna is crucial for the GPS’s accuracy and performance.
-
Choose the Right Location:
– Install the antenna in an area with a clear view of the sky (e.g., on the roof or highest point of the boat). -
Secure Antenna Base:
– Follow the manufacturer’s instructions for properly fastening the antenna base. -
Run the Cable:
– Use cable ties to secure the wire along the boat’s edges and avoid any areas of wear. -
Connect the Antenna:
– Connect it to the GPS unit by inserting the cable into the appropriate port.
How Do I Test the Installation?
Testing your newly installed marine GPS system is essential for ensuring it functions correctly.
-
Power On the GPS:
– Turn on the device and check for a start-up welcome screen. -
Check Location Accuracy:
– Move the boat to ensure the GPS tracks movement efficiently. -
Test Other Features:
– Utilize features like waypoint management and chart plotting to confirm their functionality. -
Update Firmware:
– Make sure the software and maps are up to date for accurate navigation.
What Maintenance Does a Marine GPS System Require?
Regular maintenance will keep your marine GPS system functioning well for years.
-
Check Connections:
– Regularly inspect wiring and connectors for corrosion or wear. -
Update Charts and Software:
– Ensure your GPS system is updated with the latest maps and firmware. -
Clean the Screen:
– Wipe the screen with a soft, damp cloth to keep it clear.
Conclusion
Learning how to install a marine GPS system doesn’t have to be intimidating.
By following the outlined steps, you can effectively enhance your boating experience.
From choosing the right model to ensuring proper installation and maintenance, you’re now well-equipped to install a GPS system on your boat.
Remember, accurate navigation is paramount for safety and enjoyment while out on the water!
Enjoy your journey, and may your newfound GPS guide you to beautiful adventures!